Ok... this is genius! I just saw this tutorial on how to make a pillow using a fabric placemat. WHAT??? I just can't get over how easy this looks. I will definitely be buying a nice placemat at Target today. They have so many cute ones and they are always seasonal and trendy. I am SOOOO excited!
I have been looking for ideas for some easy and quick art project to hang in my Living Room. Here are a couple that I will definitely try. Anyone want to try them with me?
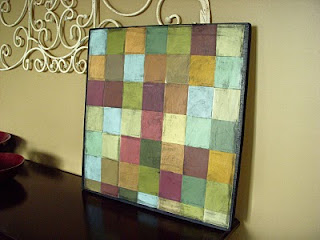
This first one is a Paint Chip Masaic Art piece, by Hope Studios. They have a great tutorial on their site for this project. I love the look... and the price. Looks like it is VERY easy to make as well... might not even need hubby's help with this one :)
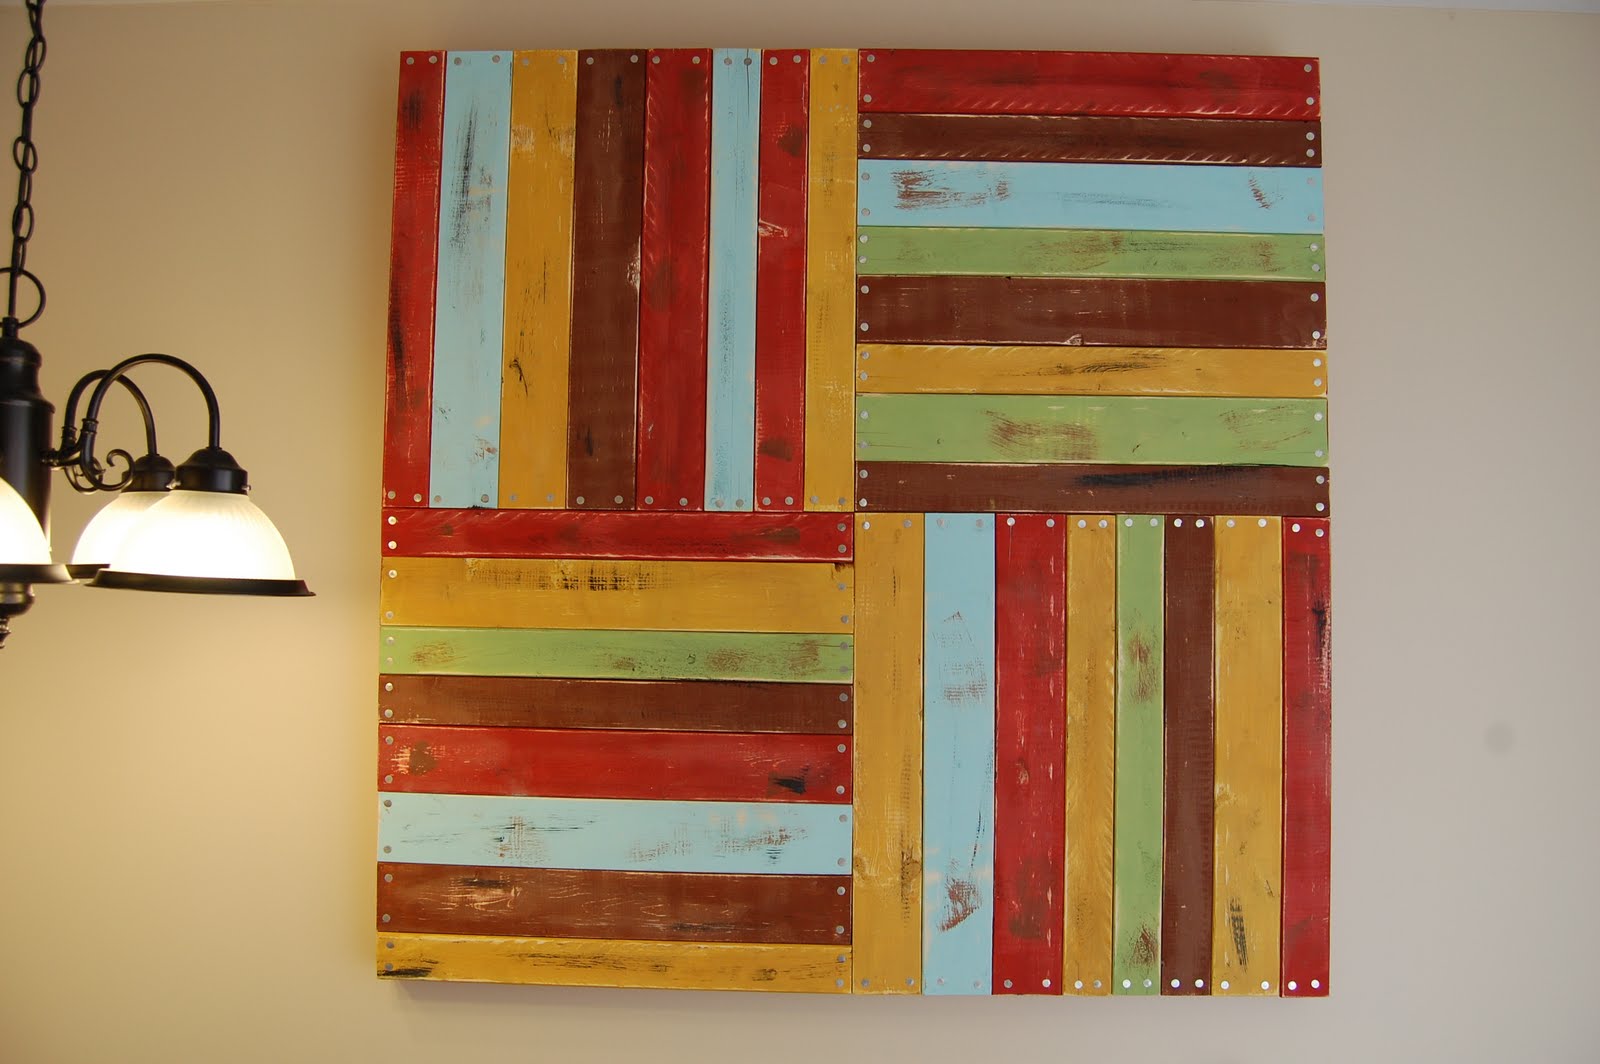
The next one, is a Pottery Barn inspired piece. I have been wanting a similar wall hanging from Pottery Barn for a while now... I don't think they carry it any longer, but the price tag was $600, I believe. I was SO excited when I found this tutorial by The Polka Dot Umbrella. I will most definitely try to recreate this. However, I will absolutely have to recruit my wonderful husband to help me with the construction. Talk about big impact, though... This piece measures 47"x47".
Flowers are such a huge trend right now. Seems that lately I have been seeing flower pillows on all the awesome blogs I follow. Here are some of my favorites. Most of these are quick and easy tutorials to make your own.
These flower petal pillows just use scraps of fleece... Fleece is so inexpensive and cozy and doesn't fray, so you don't have to worry about the edges unreveling.
This Ruffled Rosette Pillow might require some sewing... but I bet I could glue it together. The end result is great and vibrant.
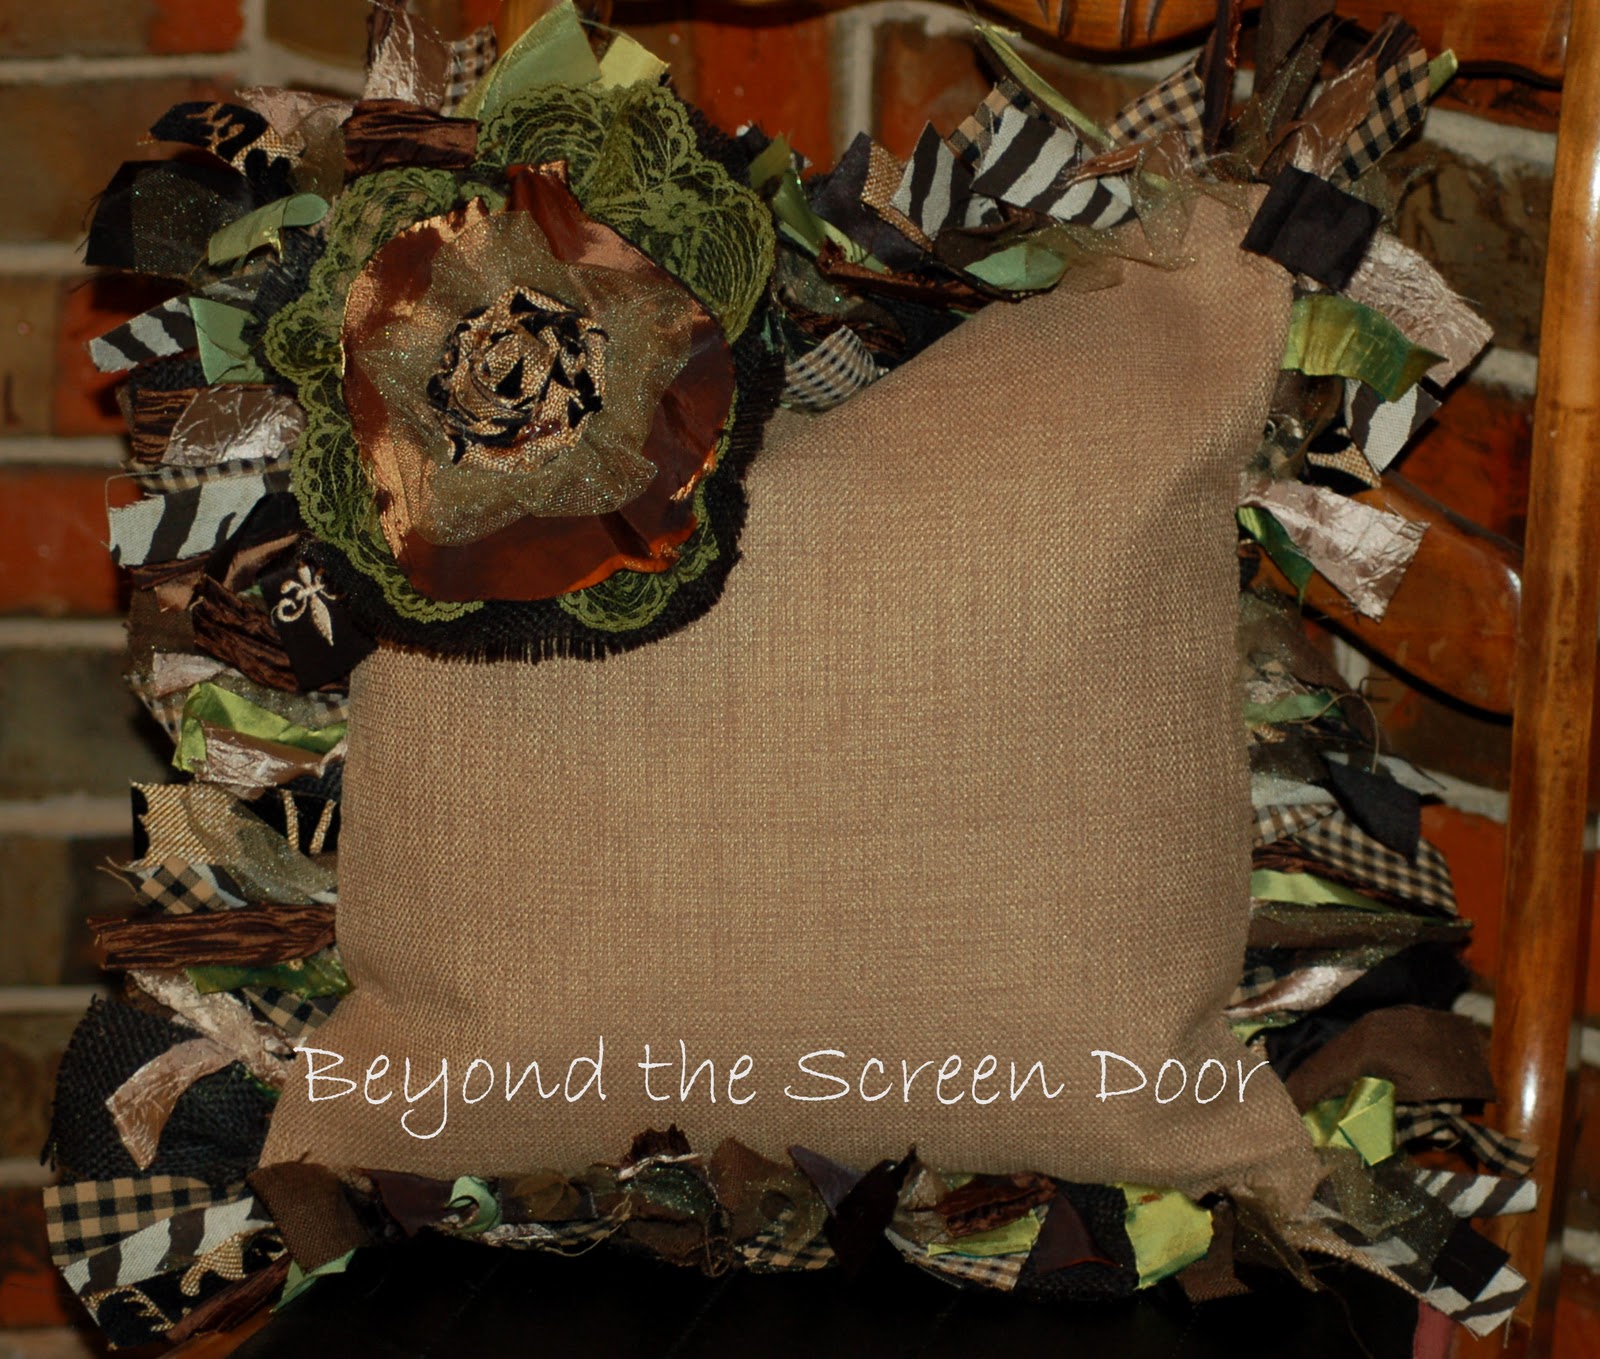
This shaggy ruffled pillow also uses up a lot of fabric scraps and has more of an earthy feel to it. I like projects like these, where you don't have to be perfect because its imperfection also happens to be its beauty.
These pillows are made with the Oh So Yummy Amy Butler fabric. I just love Amy Butler's style and vibrant colors. Always a great pick-me-up for me.
And last but not least, here is a video, where Kim and Kris of the "DIY Dish" share how to create fabric Yo-Yos. Those are very popular these days as well. Click here to view more items they have made with these fabulous flowers.
We've been living in our house for over a year now... but until today haven't had our house number displayed anywhere. Cricut to the rescue, once again. I absolutely love the way this turned out.
I noticed that burlap is so popular these days. You can see it in all the upscale stores. It's so inexpensive but has great texture and is very easy to work with.
For this project, I started with a square of burlap and frayed the edges. Then I cut out numbers 2 and 6 using my friend the Cricut out of fabric. I used iron on thing-a-majigy (what is the name for it???) to attach the numbers to burlap. I also cut out "Creme" on the Cricut, out of freezer paper this time. Ironed that on the burlap and used it as a stencil. Then I used some heavy duty glue to attach the whole thing to the wood plaque, which I painted using acrylic paints and a layer of mod podge (mainly for texture). For the finishing touch I added some upholstery tacks to each corner of the burlap.
I frayed the edges of the fabric numbers a little to give it a more shabby look.
I just love all the textures on this sign. Here is a closer look at the burlap and painted background... along with that really cool tack.
I am loving my new Cricut Expressions. This past week I purchased a software called Sure Cuts A Lot, which allows me to cut out images that I create on my own. I have been playing with Adobe Illustrator, coming up with all kinds of ideas. Here is a sunflower I made today. I designed it in Illustrator and then used my new SCAL software to cut it out on the Cricut. Then inked and curled the edges and glued all the pieces together. This one measures about 3 inches around.
I am also in the process of making a wooden sign that says Savvy Cat. Cricut has been a big part of this project as well. I got some wooden flower shapes at the dollar store the other day... a whole package of 10 was $1!!! And for some reason I had 11 in mine, but I won't complain. Painted them green (of course). This paint is really cool. It's metalic. I also painted the edges with another green paint that's super glittery. Then I added letters, which I cut out using my Cricut (love this machine!) in the middle and Mod Podged over the whole thing several times. I am so happy with the way this project is turning out so far. Hopefully I will have more time to play with it tomorrow... teal and brown are the plan for the background.
This is the end result of my first attemtp at glass etching. It was a super easy, fast.. and very satisfying project.
Supplies you will need: something glass (obviously). I purchased these two candle holders a the Dollar Tree. They are probably about 4" tall. The reason I have two is because my sweet husband, who was home not feeling too well today, said he would like to do a project with me. What a good sport he is! OK, now back to the supplies. You will aslo need Glass Etching Cream. I purchased mine at Michaels. Not cheap but goes a long way. I think my 3 oz. bottle was $12.99 but I used a 40% off coupon, so it was quite a bit less. We used foam brushes to apply the cream. Another thing you will need is some sort of a stencil. I bought some at Michaels but decided not to use them because I didn't have repositinobale adhesive... blah blah blah. So, we improvised... next step.
I used my Big Kick and cut out a flourish (Tim Holtz's die) on some contact paper. You obviously don't need printed contact paper but that's what I had on hand, leftover from when we lined our bathroom drawers.
Then I removed the flourishes and saved them for another use... don't know what that use might be quite yet. You need the negative space in order to create the stencil.
We then attached it to the glass... and used some more contact paper around the edges, so the cream wouldn't get on the parts where we didn't want it. You also want to make sure to remove any air bubbles, so the cream won't get under your stencil.
Here is my Honey applying the etching cream to the glass.
We applied it very liberally, tapping it on, not brushing. I think it works better that way. But since it was our fist time, we don't really know. The directions say to let it sit for about 5 minutes. I followed the directions, and Greg left his for about 15 minutes, to experiment... we didn't see much of a difference between the two.
Then you rinse the whole thing, washing away all of the etching cream.
Then peel away your stencil... and marvel at the beauty of your newely etched glass. It's SO cool!
Here are our two candle holders side by side. I still need to remove the labels from the bottom... and get some candles to go in them.
I saw a simiar project online and just had to recreate it. I really like birdies this time of year.
First I cut 6 strips of printed paper measuring .5"x12"
Then I stacked all 6 strips on top on one another. Using a ruler I found the center and punched a hole. Then I used a brad to attach the strips together.
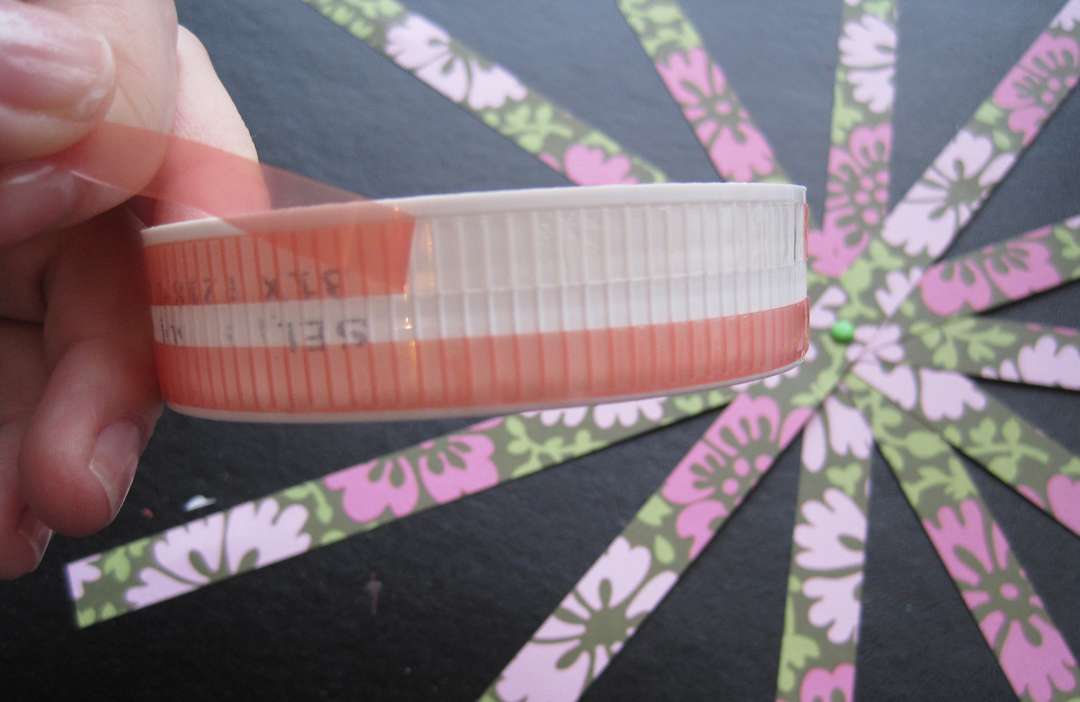
For the base I used the lid from a Nutella jar. Althought I don't have any idea why, but I have had it saved for a while now and was so happy to finally utilize it. Then I measured the rim of the lid so I could cut an additional strip to cover it. Mine measured .75" x 12" (I didn't quite need 12" but it's always better to have more than not enough)
Next I addred Sticky Strip (or you can use another very strong adhesive) around the lid.
In the background you can see that I spread the strips to form a sunburst sort of a shape.
To assemble the cage I started attaching the strips to the adhesive on the lid, one by one. Make sure to leave an opening so you can more easily add the spanish moss and your birdie inside the cage.
One of the things I would do differently next time is attach the bird to the inside of the cage before attaching the top to the base. It would make things much easier. What I did this time, was punch two bird shapes (using my awesome Stampin' UP! punch) and sandwiched a string between them. I used a silver cord, but a clear thread would look more like the bird is flying. Then I tied the other end of the cord to the base of the brad (on top on of the cage), so my bird hangs in the center.
Then I attached the last of the top to the base and covered the bottom with the strip I precut earlier.
I also added a few flowers to the cage for an extra little touch.